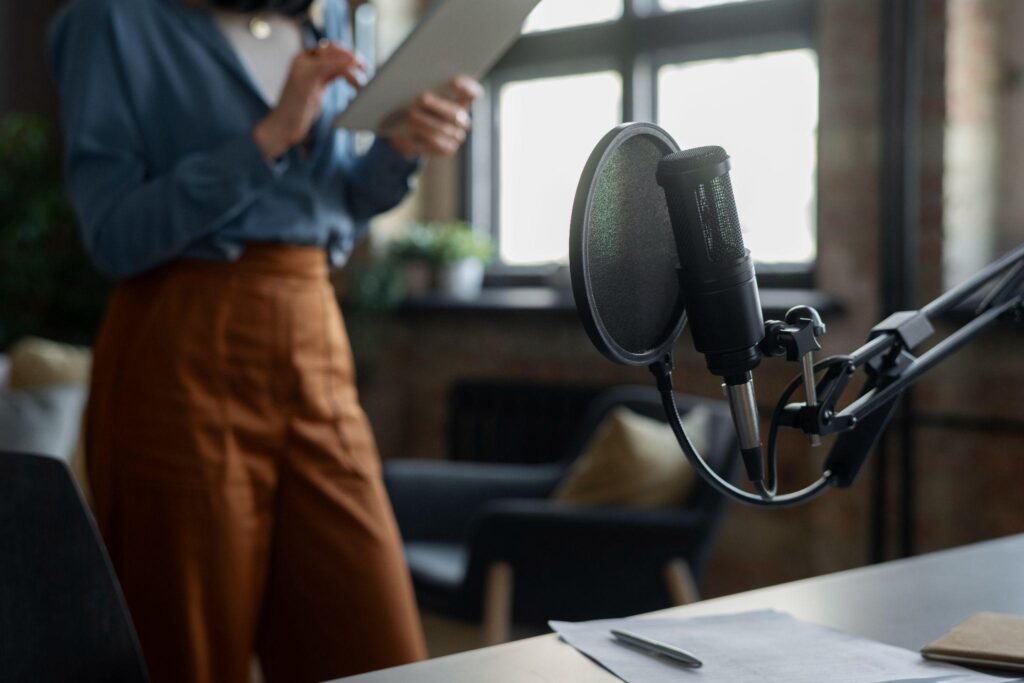
Voiceovers play an essential role in creating explainer videos. They guide the viewer, add depth to the visuals, and make the overall message of your content clearer.
It’s even difficult to imagine an effective explainer video without a voiceover. But achieving a polished, professional voiceover requires thoughtful editing using the right software.
Importance of Voiceovers in Explainer Videos
While there are plenty of visual learners, the audio aspect of content can never be underestimated. That’s why voiceovers are practically a must for an explainer video.
Voiceovers do much more than just narrate. They create an emotional connection with the audience and help convey your personality. They make even the most difficult topics easy to understand.
Effective voiceovers in explainer videos can help achieve various goals, from educating and inspiring to encouraging action. Yet, even the best-recorded voiceovers can suffer if not enhanced correctly.
And to get the most out of voiceovers, you have to use reliable video editing software.
Learn more about explainer videos here: https://blog.hubspot.com/marketing/explainer-videos
Tips on Enhancing Voiceovers in Explainer Videos
If you’re looking for ways to enhance the voiceovers in your explainer videos, we’ve got you covered with our small list of useful tips.
Clean Up Background Noise
Even in professional recording settings, background noise can slip into the voiceover.
Use noise reduction features available in most video editing software to remove unwanted sounds like hums, clicks, or ambient noise. This cleanup will make the voiceover sound more professional and keep your message undisturbed.
Some advanced editors even offer adaptive noise reduction, which adjusts as the voiceover progresses.
Try to avoid an over-processed sound, though. Apply noise reduction thoughtfully.
Equalize the Sound
Equalization (EQ) allows you to adjust the frequencies in the voiceover audio, enhancing clarity and depth. If the voiceover sounds too thin or too boomy, use the EQ settings in your video editing software to find a balanced sound.
If the voiceover is too sharp on high frequencies, try a mild high-frequency roll-off above 10kHz. This reduces harshness, creating a smoother sound without sacrificing clarity.
Add Compression
Compression helps maintain a consistent volume level throughout the voiceover. It smooths out loud spikes and raises quieter parts, ensuring an even volume level from start to finish. This consistency prevents viewers from constantly adjusting their volume and keeps their focus on the video.
Most video editing software provides straightforward sliders to control compression settings.
Use Subtle Reverb
Reverb can add a sense of space to the voiceover, making it sound less flat. However, too much reverb can make the voiceover sound distant and difficult to understand.
Using reverb subtly can make a voiceover sound more natural, as if the narrator is speaking in a comfortable room rather than a sterile recording booth.
You may test different reverb types on a short section to hear how each affects the vocal tone.
Sync Voiceovers with Visuals
Voiceovers are most effective when they are well-timed with the visual elements. Use markers in your video editing software to align key points in the narration with fitting visuals.
The voiceover should complement and reinforce the visual message, creating a more immersive viewing experience.
Adjust Pacing and Flow
The pacing of a voiceover has a massive impact on its effectiveness. Adjusting the timing between sentences or even within words can make the narration sound more natural.
Most video editing software allows you to fine-tune timing to keep the voiceover flowing smoothly. This way, it feels organic rather than forced and robotic.
Apply Crossfades for Smooth Transitions
Transitions between different segments of audio can sometimes sound abrupt. Applying a crossfade at the beginning and end of the voiceover clips in your video editor helps blend the sound smoothly, creating a more polished effect.
You can also adjust the crossfade duration to make the transitions even more seamless. Remember that the voiceover should remain distinct while blending naturally with any background audio or effects.
Consider using different fade times for intros and outros. A slower fade-out on the music, paired with a quicker fade-in on the voiceover, often creates a broadcast-quality effect.
Adjust the Volume to Suit Background Audio
Balancing the voiceover volume with background music is critical for a professional result. Background music should complement, not overpower, the narration.
Most video editing software provide audio ducking, which automatically lowers the volume of the background music when the voiceover plays. It’s especially useful in keeping the voiceover audible without muting the music entirely.
Conclusion
Voiceovers are certainly an important part of explainer videos. But just like any part of content, voiceovers require some work. If you want to achieve a professional result, that is.
Clean up background noise, add subtle touches, use smooth transitions, and you’ll hear how much better your voiceovers will sound.
Experiment with various techniques and choose those that turn your voiceovers into the most seamless experience.


